

Load Your Data
Load your first four tables into Keboola Storage with the HTTP data source connector, pulling the sample CSV files straight from a URL.
Nothing in Keboola happens until there is data in Storage. This step puts four tables there using a data source connector — the thing that does all real loading in Keboola. Step 2 of the Getting Started arc.
What you need
Section titled “What you need”A Keboola project you can sign in to. If you do not have one, start with Get a Project.
Nothing to download — the connector fetches the files itself.
The sample data
Section titled “The sample data”Four small tables describing a sales pipeline: opportunities, the accounts they belong to, the users who own them, and each user’s seniority level. They are published here, and the connector reads them over HTTPS:
| Table | File |
|---|---|
| opportunities | /getting-started/opportunity.csv |
| accounts | /getting-started/account.csv |
| users | /getting-started/user.csv |
| levels | /getting-started/level.csv |
All characters in this data are fictitious, and any resemblance to real persons, living, dead, undead, unborn, or otherwise semi-existent is purely coincidental.
How loading works
Section titled “How loading works”Data gets into Keboola through data source connectors — components that fetch from a source on demand or on a schedule. There are hundreds of them: databases, APIs, ad platforms, cloud drives. They differ in how they authenticate and what they can fetch, but they all end the same way: rows in a Storage table.
You will use the HTTP connector, which downloads CSV files from a URL. It is the simplest one that still behaves like a real connector — it can be re-run, scheduled, and dropped into a flow, which is what step 5 depends on.
One configuration can fetch many files, so you will build a single configuration holding four tables rather than four separate configurations.
Create the configuration
Section titled “Create the configuration”-
Open Components and search for
HTTP. Pick the HTTP data source.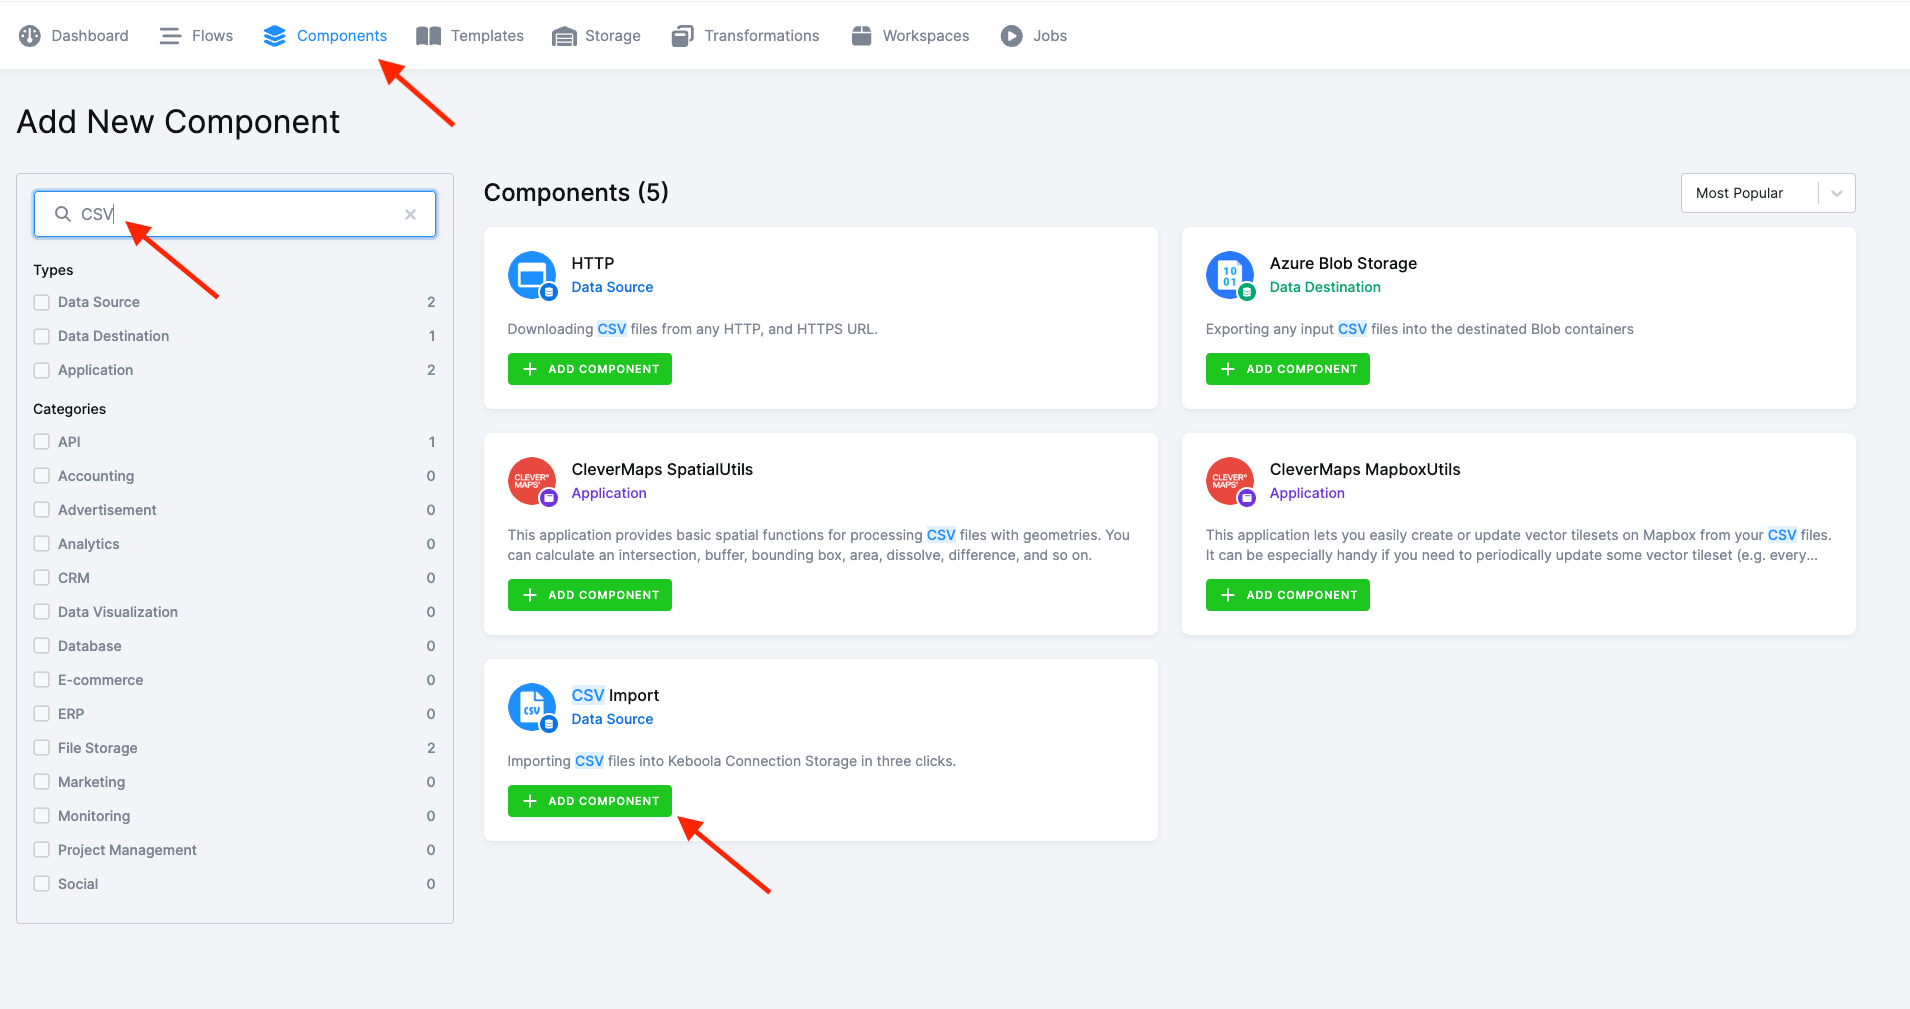
-
Click Add Component, then create a configuration named
[TUTORIAL] Sample dataand give it a description. Descriptions are what keep a project readable six months later; see the best practices cheat sheet.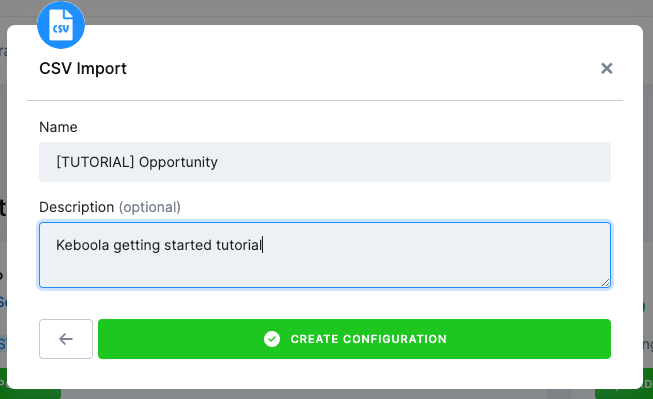
-
Set the base URL — the prefix shared by every file this configuration downloads:
https://help.keboola.com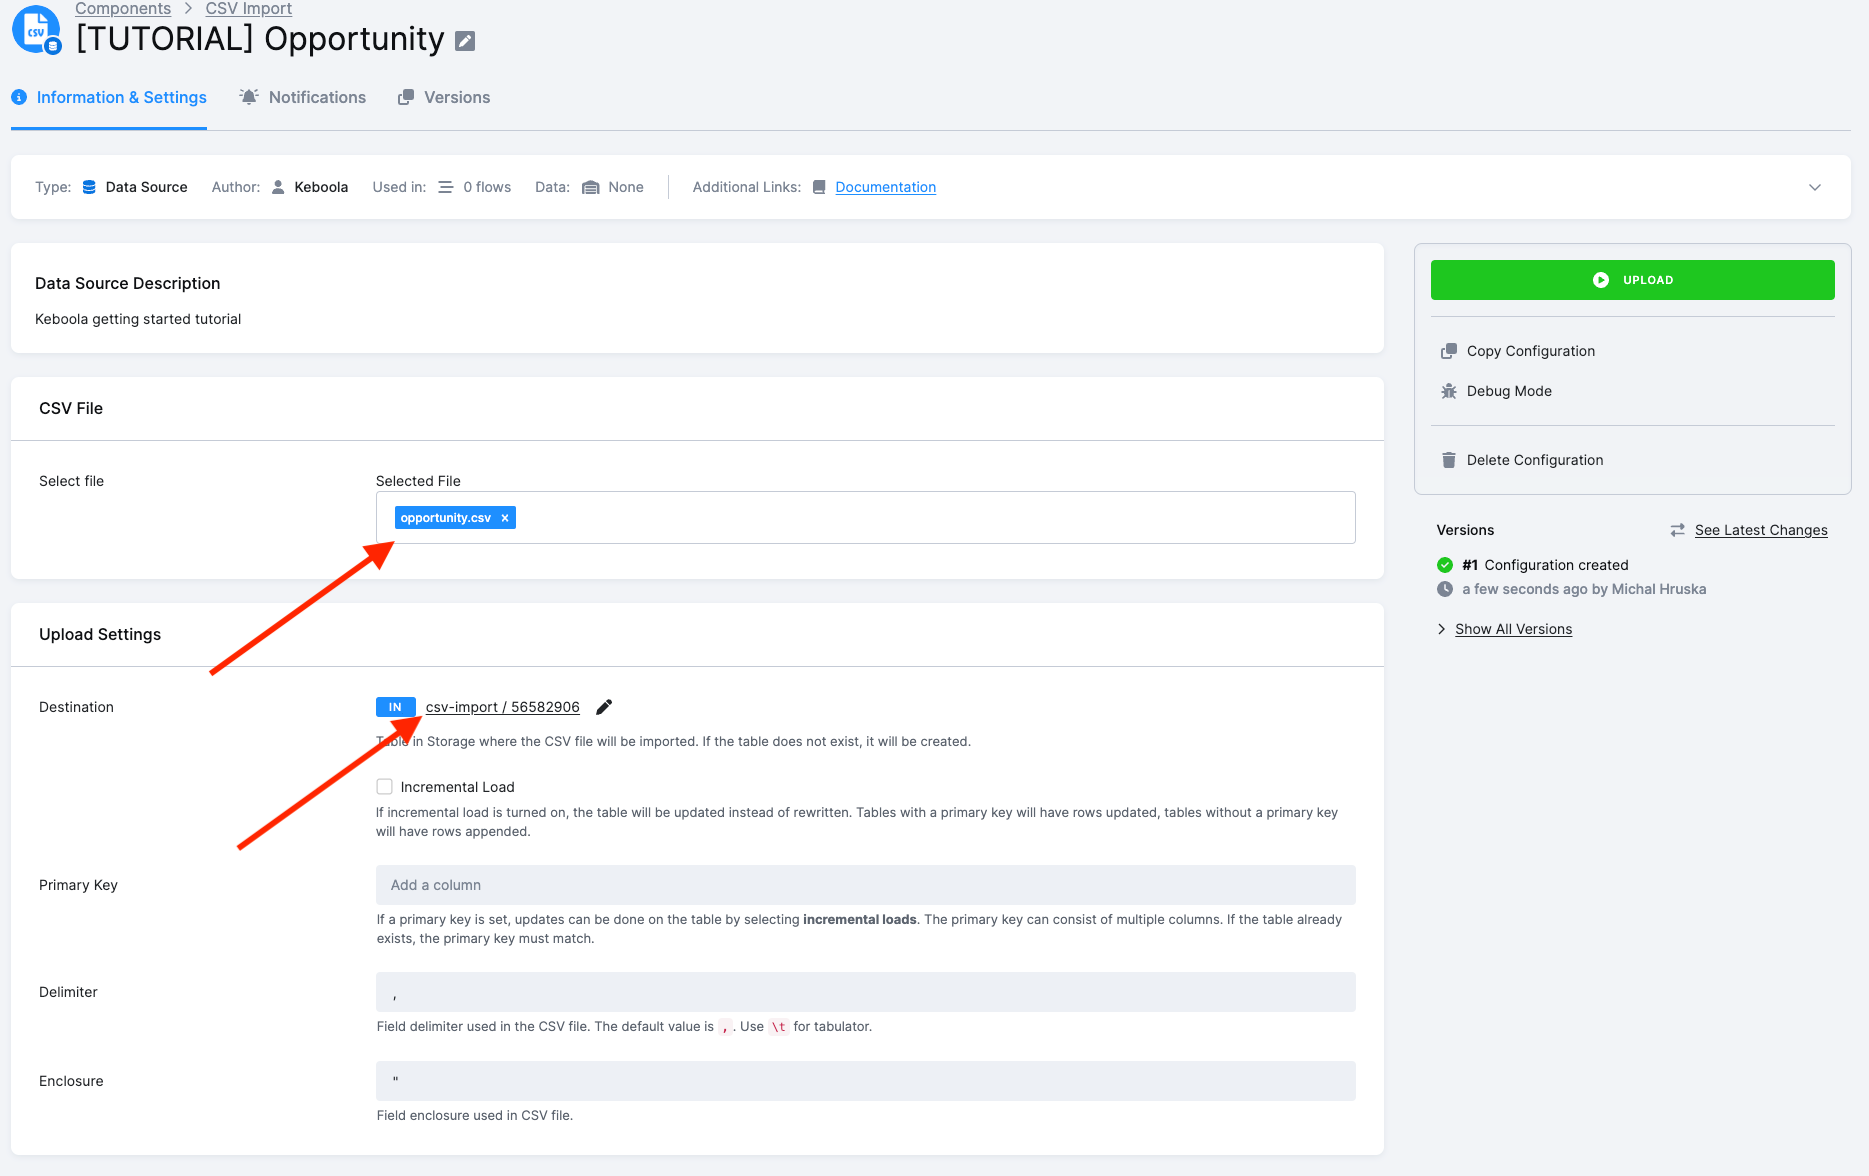
Add the four tables
Section titled “Add the four tables”Each table is a configuration row: its own path and settings, sharing the configuration’s base URL.
-
Click Add Table and name it
opportunity. The name seeds the Storage table name. -
In the table’s settings, set the path to the file, relative to the base URL:
/getting-started/opportunity.csv -
Under the header options, choose Read from the file(s) header — the sample files carry column names on the first line. (The alternatives are setting the columns by hand, or having them generated as
col_1,col_2, ….)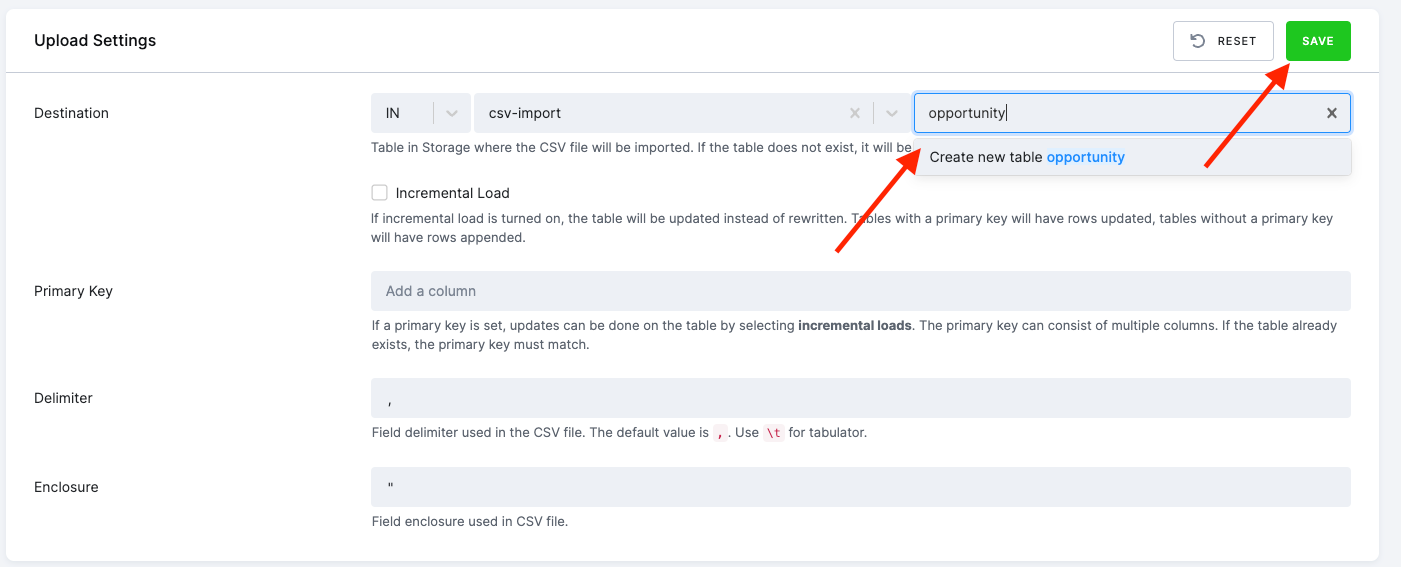
-
Save the table, then repeat steps 4–6 for the other three:
Table name Path account/getting-started/account.csvuser/getting-started/user.csvlevel/getting-started/level.csv -
Run the configuration.
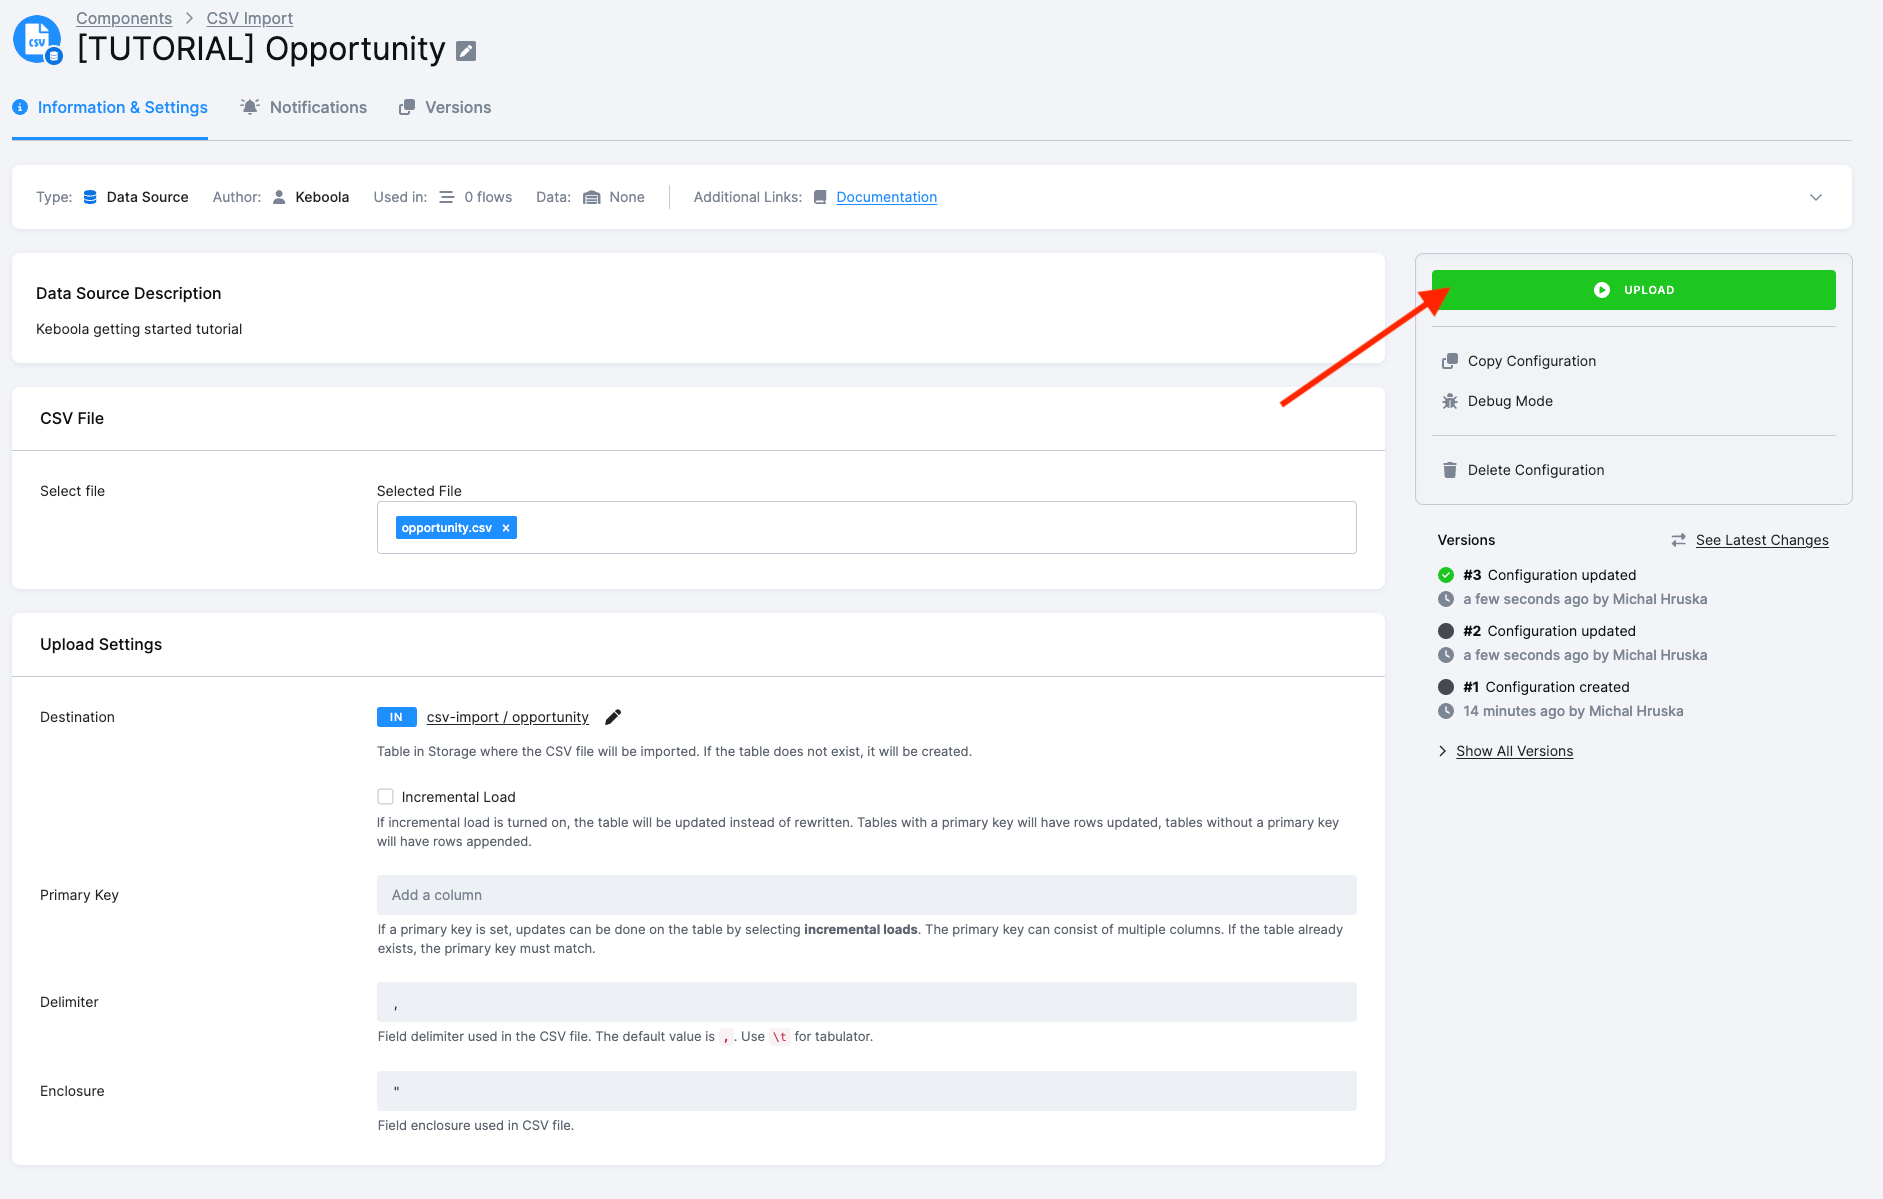
Check it worked
Section titled “Check it worked”Open Storage. Data lives in buckets, and each bucket holds tables. The connector created
a bucket of its own — named after the configuration, something like keboola-ex-http-1234567,
shown with an IN badge — holding four tables: opportunity, account, user and level.
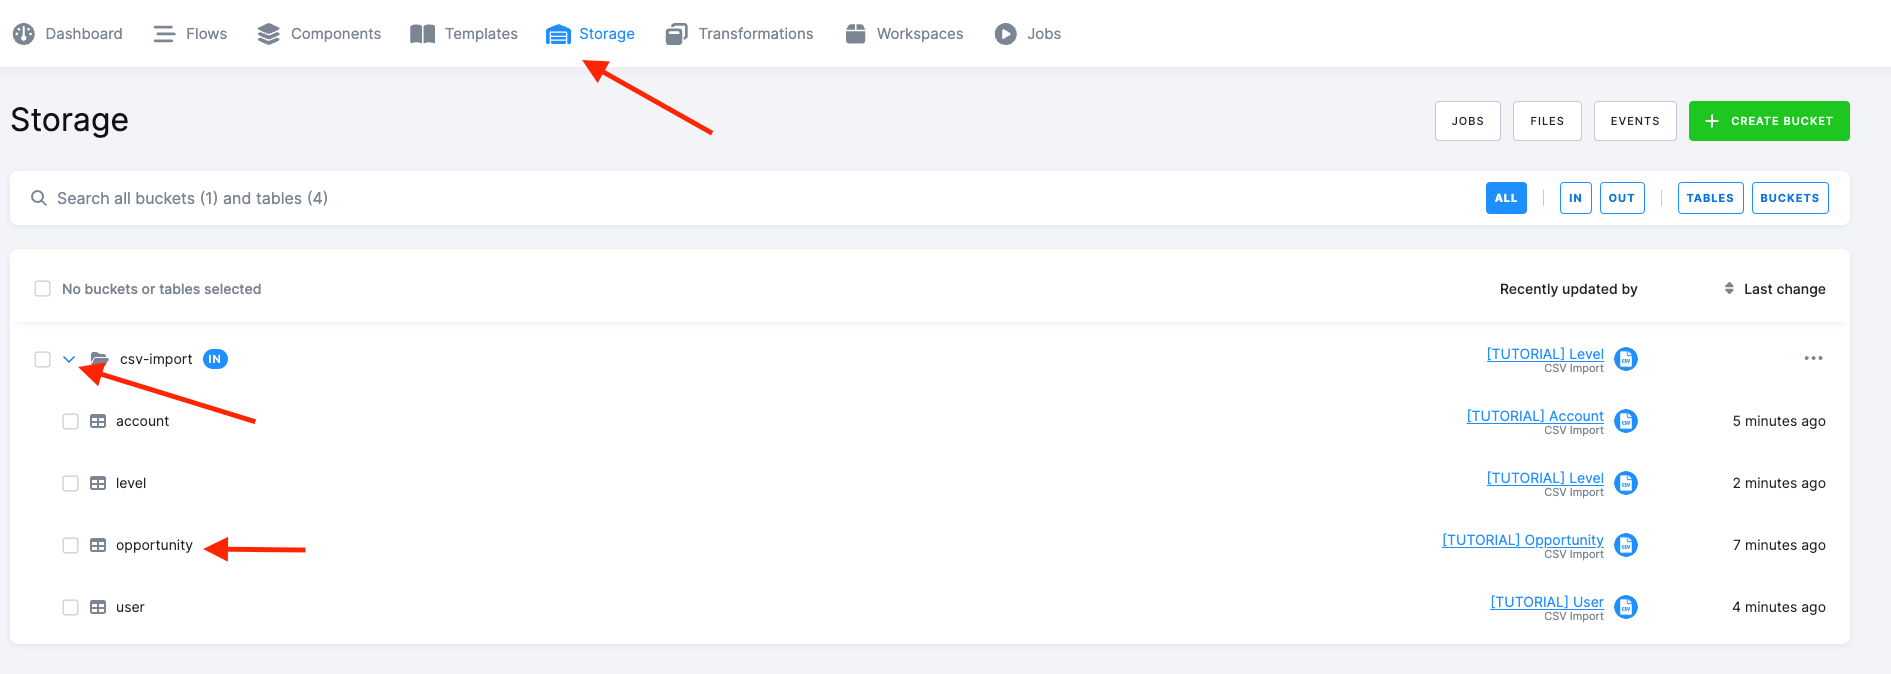
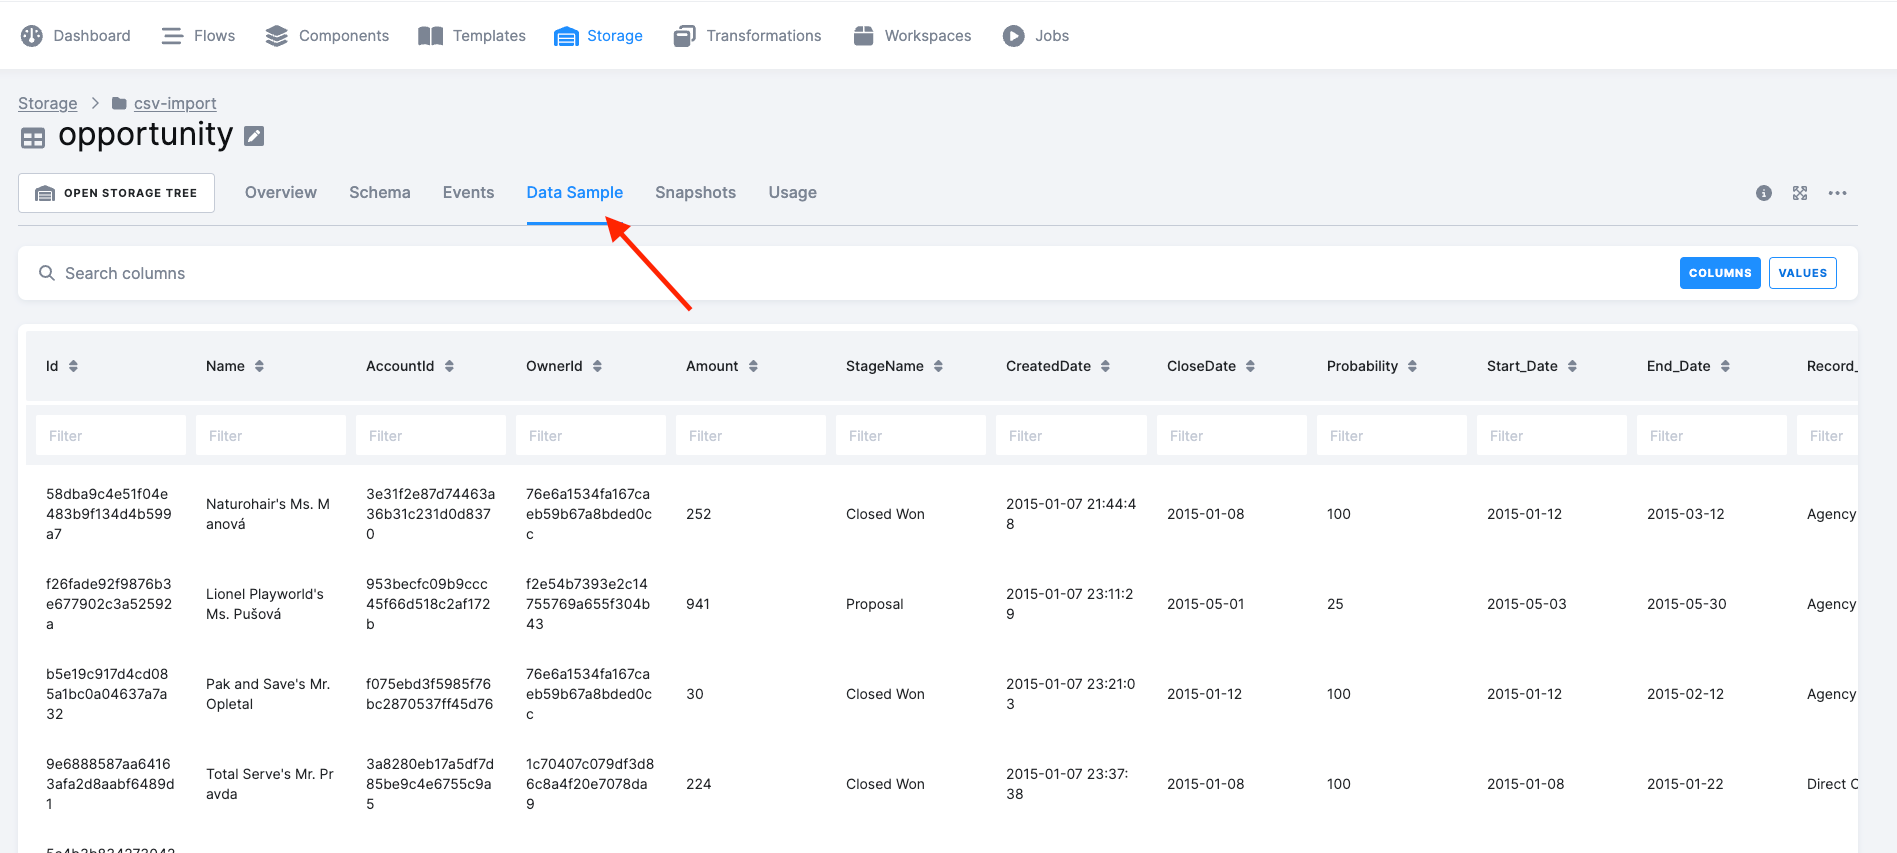
Click a table to see its columns, row count and a Data Sample of the real contents. If
opportunity has a few hundred rows and columns like AccountId and Probability, this step is
done.
If it goes wrong
Section titled “If it goes wrong”- The job fails with a 404. The path is wrong, or missing its leading slash. Base URL and
path are concatenated, so
https://help.keboola.com+/getting-started/user.csvis right, while a base URL with a trailing slash gives you a double slash. - Every row arrives as one column. The Delimiter setting does not match the file. These files are comma-separated.
- The first data row is missing, or columns are called
col_1. Wrong header option — pick Read from the file(s) header. - The table is empty but the job succeeded. The URL returned an HTML error page instead of a CSV. Open it in a browser to see what actually comes back.
Going further
Section titled “Going further”- Load from Google Sheets — the same data pulled from a spreadsheet, with an authorized account instead of a public URL.
- Load from a database — the pattern every database connector follows.
Next: Transform your data →